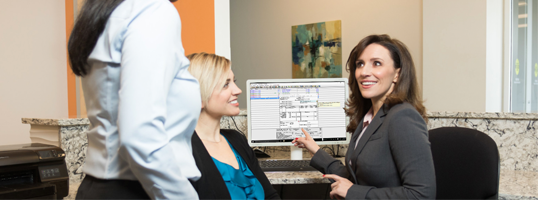
A smooth and efficient check-out process is just as important as any other part of the patient’s appointment.
The patient check-out process is just as important as any other part of their appointment. Here are my top 5 tips for a more efficient patient check-out process.
Communicating with the Front Deck – Which Procedures Were Completed?
As the assistant or hygienist brings the patient up front, this is the perfect time to communicate to the administrative team which procedures were completed today. This is obviously very important to make sure the correct procedures are billed out. Whether the procedures are being set complete in the back or the front, it never hurts to have more than one set of eyes reviewing this information.

Using Route Slips or Patient Visit Forms
In a chartless office, it can be helpful to use a patient route slip or Patient Visit Form for this communication process. The assistant or hygienist can write on the route slip or Patient Visit Form to indicate if any procedures changed from the original schedule. This can be especially helpful for the front desk team to refer to if they are on the phone or checking another patient in. Both the route slip and the Patient Visit Form are available from the Appointment Book. After selecting a patient, select File > Print Route Slip or File > Print Patient Visit Form. The Patient Visit Form can be customized based on the type of information you want to display.
Creating a Sense of Urgency for Necessary Treatment
Patient check-out is also a great opportunity for the assistant or hygienist to reiterate important things that were said during the patient’s appointment. For example, the hygienist could say to the front desk “It’s very important that we schedule Mrs. Smith as soon as possible for the upper right crown”. Reiterating this information to the front desk can create more urgency with the patient to schedule the necessary treatment. Also, most people need to hear something more than once for them to retain it. The check-out process can be a good opportunity to repeat important information.
Scheduling Future Continuing Care Appointments Before the Patient Leaves
Re-appoint your patients as much as possible. While they’re in your office, your patient’s oral health is fresh in their mind. It can be more difficult and take up more staff time to schedule their appointment once they have left the office. Take the time to schedule a patient’s next cleaning while they are checking out.
Using Fast Check Out to Automate Tasks
If you’re not already using it, try using the Fast Check Out option in the Ledger. Fast Check Out automatically performs three tasks, just by clicking a single icon. First, it creates an insurance claim, then prompts you to collect payment from the patient, and then it prints a Walk Out Statement. The Fast Checkout options are customizable and work station specific. To customize these settings, open the Dentrix Ledger and select File > Fast Check Out Options Setup. After you’re made your selections, choose OK. Using Fast Check Out can save time and eliminate the chance of forgetting to perform one of these tasks. As an added bonus, when you provide the patient with a Walk Out statement, it displays their next scheduled appointments at the bottom of the page.
A smooth and efficient check-out process is just as important as any other part of the patient’s appointment. Try using these tips to streamline your office’s check-out routine.
Learn More
For additional information, read the following :

By Charlotte Skaggs
Certified Dentrix Trainer and The Dentrix Office Manager columnist
Charlotte Skaggs is the founder of Vector Dental Consulting LLC, a practice management firm focused on taking offices to the next level. Charlotte co-owned and managed a successful dental practice with her husband for 17 years. She has a unique approach to consulting based on the perspective of a practice owner. Charlotte has been using Dentrix for over 20 years and is a certified Dentrix trainer. Contact Charlotte at [email protected].


