
With the Patient Engage Campaign Studio, you have the ability to automate your email delivery with complete control over content, audience, and email frequency.
Updated 2/27/2023
Have you ever felt like you had too much work to do only to be given another assignment?
What if you had the entire year of patient communications pre-planned, with automated delivery? If 90 percent of your email campaigns were scheduled in advance, personalized, and sent out automatically, how might that affect your workload, and how would it affect your patients?
You might be wondering, “How would this specifically look for our office… and could this really save us time?” The answer is a resounding YES! And, it’s likely much easier than you’d expect.
The Patient Engage Campaign Studio has the capability to automate your email delivery with a set-it-and-forget-it approach. The system gives you complete control over email content, filtered audience, and email frequency so you can easily plan your year.
Best of all, Patient Engage includes a selection of highly professional email templates for almost any situation you’d encounter, making email setup virtually effortless.
You can start now, designing and scheduling the following email types:
- Seasonal emails and promotions for specific times of the year
- Educational emails and newsletters to help position yourself as a leader in dentistry
- Referral requests that only go out to patients who’ve given you 5-star ratings
- Recare reminders and insurance benefits reminders that link back to online booking
After taking a little bit of time to set it up, you won’t have to think about it for the rest of the year.
Setting Up an Email Campaign
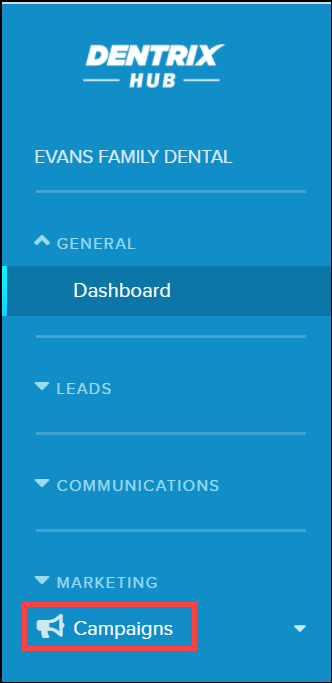
To create an email campaign, open the Marketing menu, then click Campaigns.
1 – Select a Template Category
Select a template category. You can choose between Seasonal, Promote, Educate Clients, Build Reputation, or create a Custom campaign.
Suppose that you want to send referral requests to your patients, but only to those that have given you a 4- to 5-star rating online. You would click the Promote category.

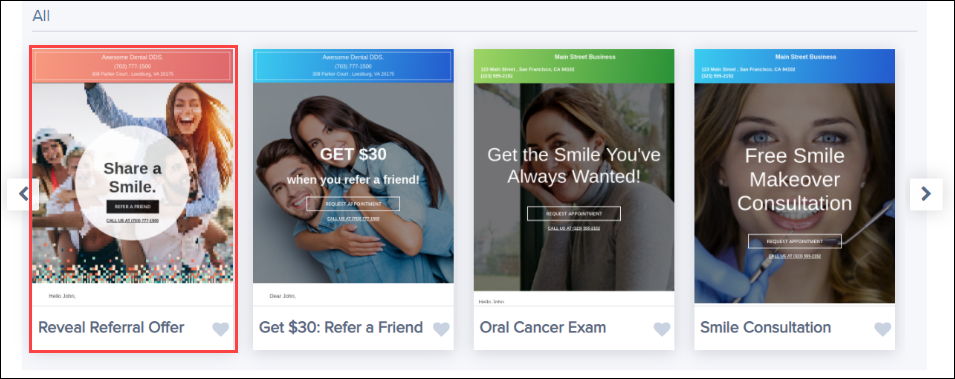
2 – Select a Template
Patient Engage already has highly professional and optimized email templates for most of what you’d like to send. You can select one of these or create your own. In this example, we’ll choose the “Share a Smile” template.
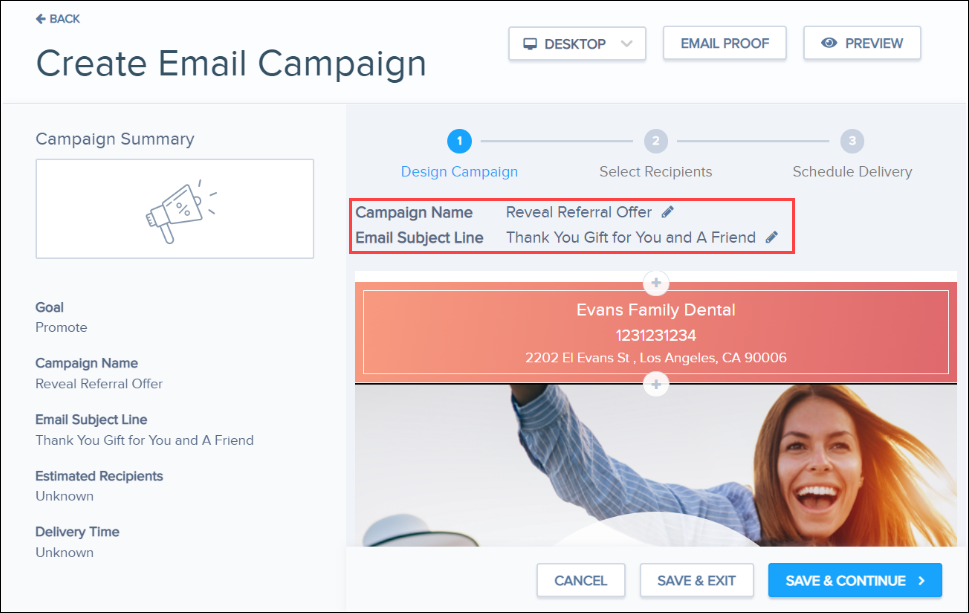
3 – Customize Your Message
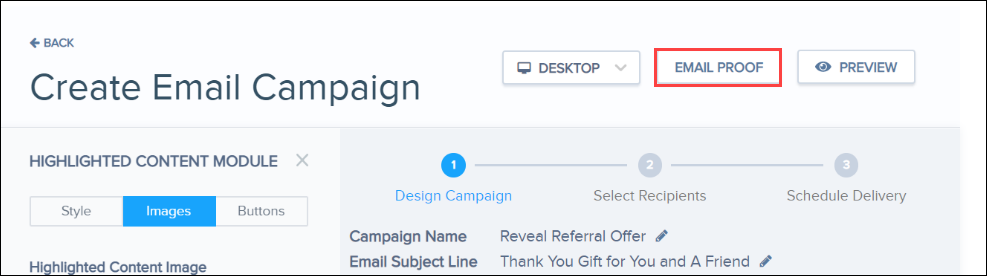
You can click the pencil icon to customize the Campaign Name (this helps you find the campaign once you save it to the campaign studio) and create a custom Email Subject Line.
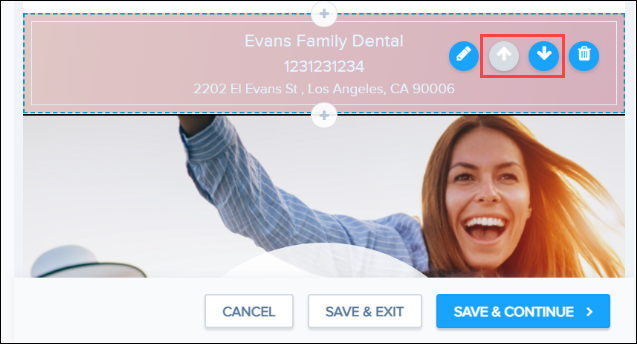
You can click and edit any of the text in the email.
You can even re-arrange entire sections by clicking the arrow buttons.
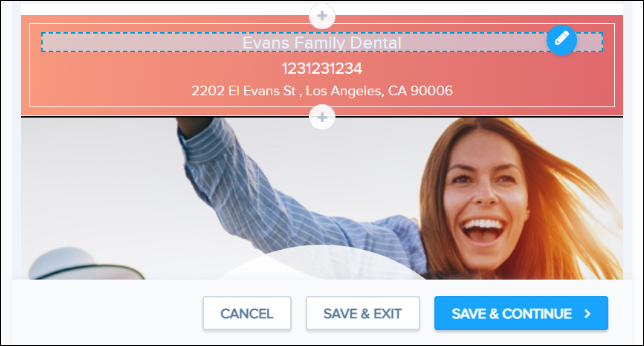
4 – Edit the Image
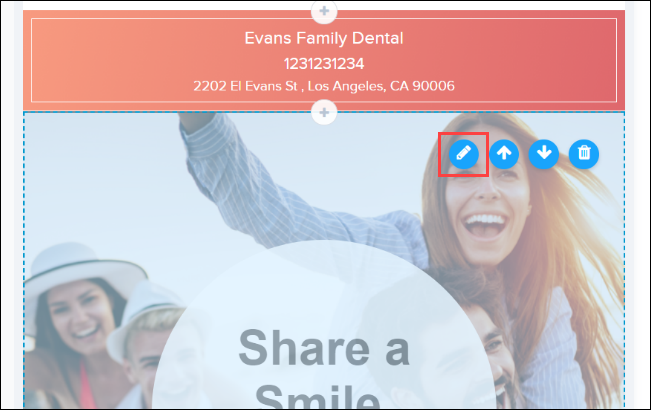
When you hover over the background image, you can click the pencil icon to edit or replace the image.
For our example, let’s suppose that you want to change the background image. First, click the image, and then click the Edit button to open up the side menu.
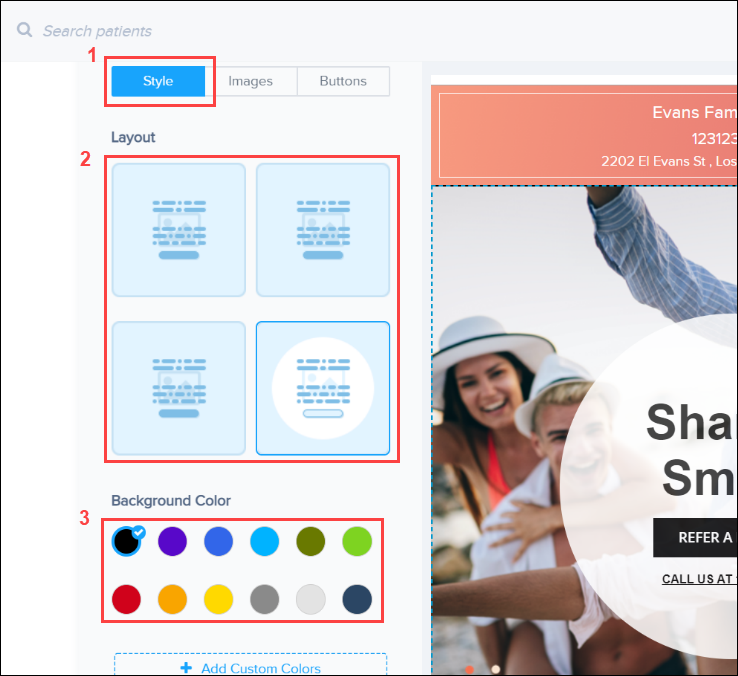
You may want to edit how the text shows up over an image. First click Style, then choose the Layout and Background Color that looks best.
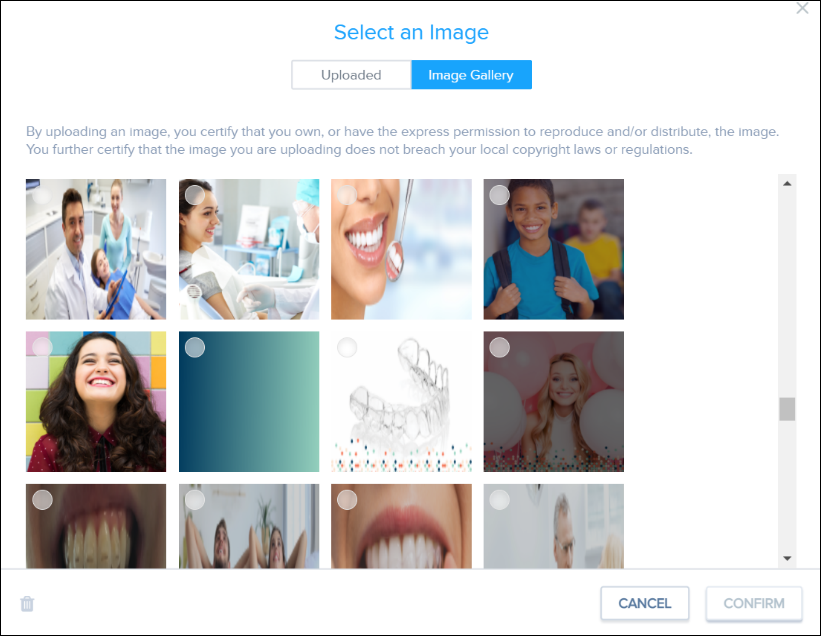
If you want to change the actual image, click Images and select Change Image or Remove Image. For our example, we’ll click Change Image.
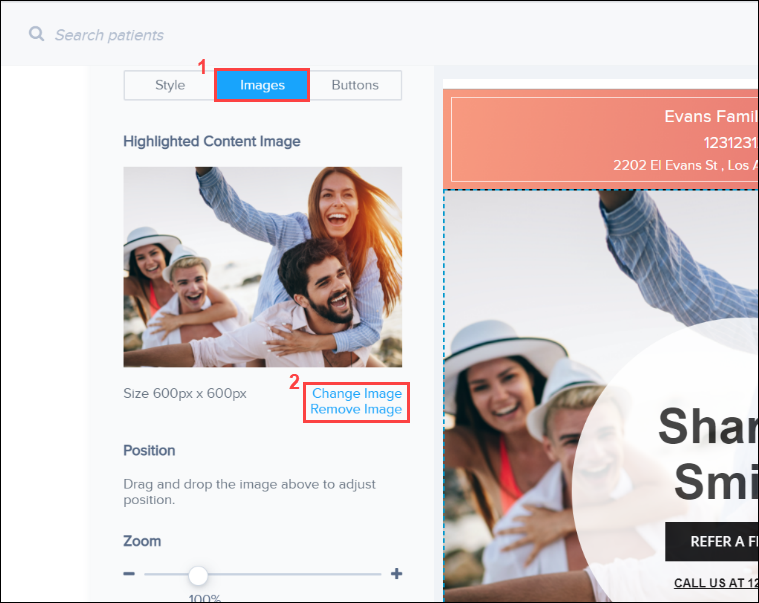
Patient Engage provides a comprehensive Image Gallery that works well for most offices. You can also click to upload your photos for a personalized feel.
5 – Send Yourself the Email Proof
To review the template to make sure you’re happy with the changes, click the Email Proof button to email a copy to yourself.
Type your email address, and then click Send.
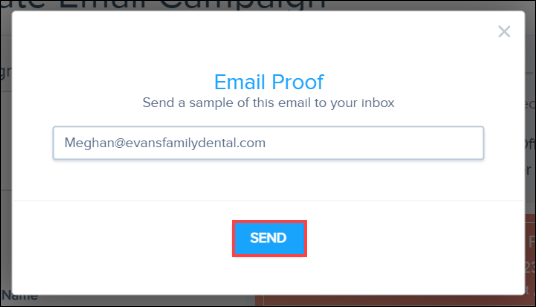
Note: The email proof you send to yourself doesn’t have functioning links. However, you can send a version of the email message to yourself or someone at your practice with live links.
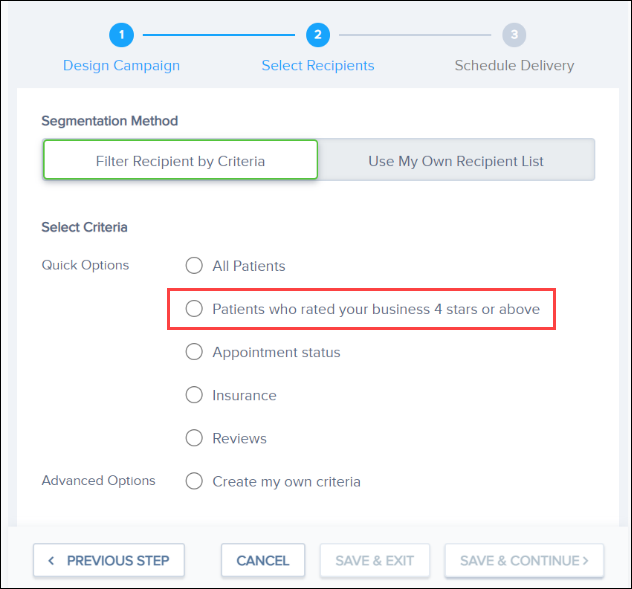
6 – Select your Recipients
Next, you’ll want to select your target audience. You can select from the following filters:
- All Patients
- Patients who rated your business 4 stars or above
- Appointment status
- Insurance
- Reviews
- Create my own criteria
Selecting Create my own criteria opens up even more potential filters to dial down your target audience.
For our example, we’ll choose Patients who rated your business 4 stars or above.
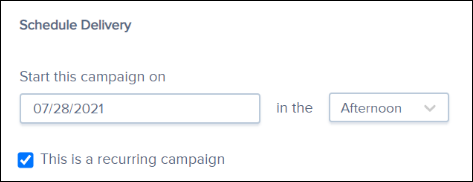
7 – Schedule the Delivery
Next, schedule the delivery. For our example, we’ll select a start date and check the box that says this is a recurring campaign.
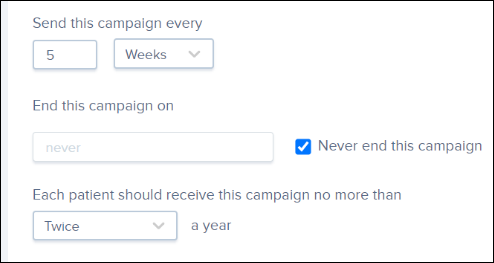
We’ll select to send this campaign every five weeks. This means that the email will automatically send to your recipient list once every five weeks. That way, as new patients review your office, they will receive the automated email any time of the year.
Then, we’ll specify that that patients only receive this email twice a year. That ensures that patients who reviewed your office will only receive this email twice.
We’ll also select the check box Never end this campaign. This type of email campaign is what marketing experts call “evergreen,” meaning it stays relevant for an extended period. And, if we want to change the content or delete the campaign, we can do so manually from the Campaigns menu.
Note: You can change the content of your recurring campaign up to 24 hours before its scheduled delivery dates.
8 – Activate the Campaign
Finally, the time has come to activate the campaign. You’ll do so by clicking Send in the bottom right corner of the page.

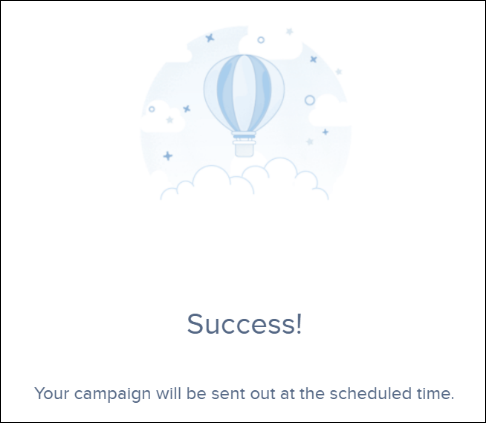
Once the campaign is successfully on its way, it will show the Success image, indicating that the campaign will send at the scheduled time.
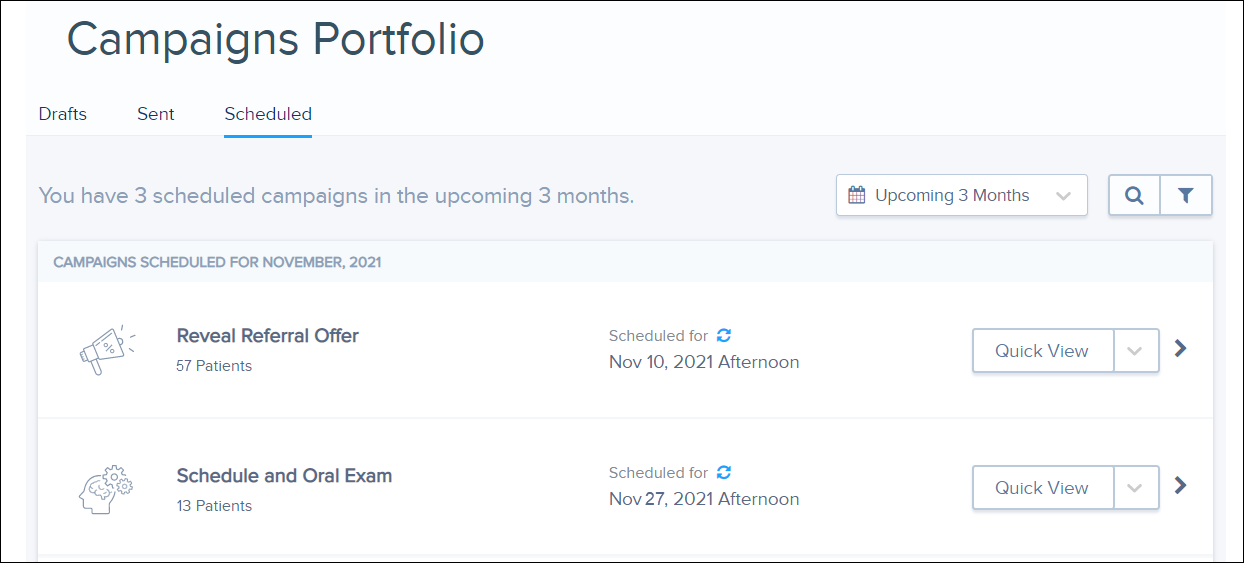
And, if at any point in the future you want to come back and edit the content, you can do so without having to re-create the entire campaign from scratch. After you’ve saved the campaign, you can find it under the Portfolio heading in the Campaigns tab.
Conclusion
By using the Campaign Studio to schedule your promotional emails for the year, you will never have to worry about creating or sending promotions during busy times of the year. Instead, you can stay focused on the task at hand – providing an excellent patient experience. Patient Engage will take care of sending emails to keep your office top of mind for your patients.
Ready to Learn More?
Check out our in-app tour. In the Dentrix Hub, click Guides at the top right corner of your screen. Then click Campaign Studio.
Want to get a better picture of how this might work for you? Watch our Campaign Studio Overview Video to see email campaigns in action. You can also check out our Campaign Studio Help to help you get the most out of Patient Engage features.
By Justin Evans, Contributing Editor


